Everything in Three.js starts with three objects: Scene (stage), Camera (lens), Renderer (projector). Master this trio and you have your ticket to the 3D world.
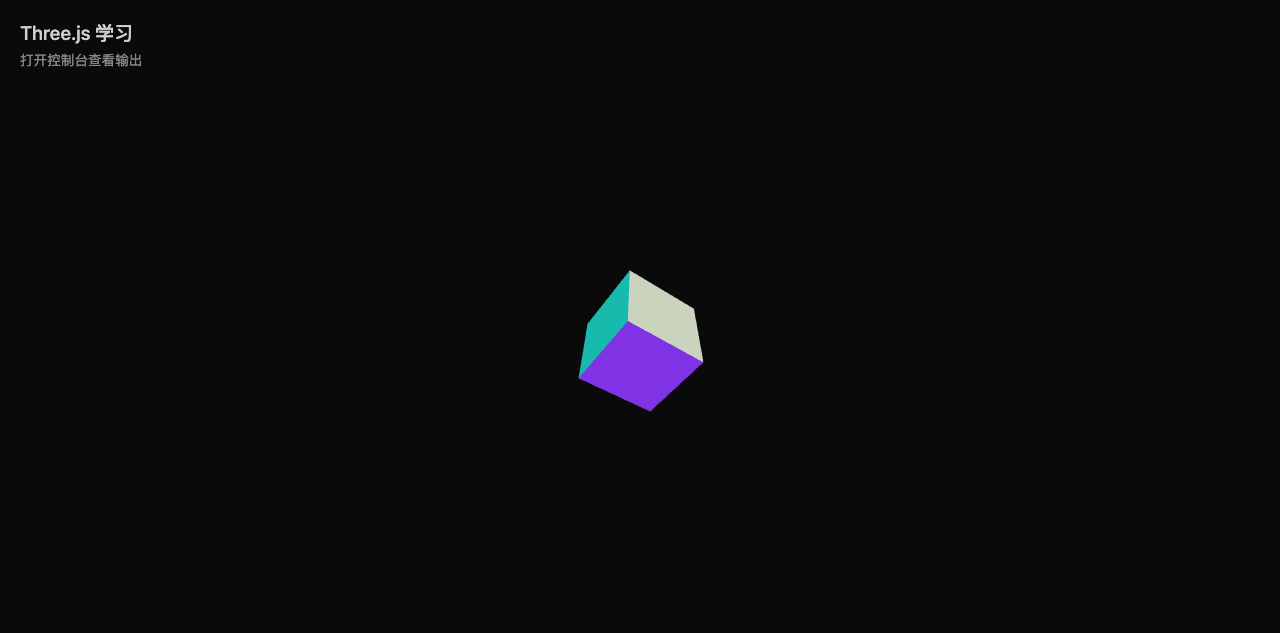
Normal material cube rotating and floating on a black background, different faces showing different colors (normal direction mapped to RGB)
01 Learning Objectives
This lesson builds a complete Three.js project from scratch:
- Set up Vite + TypeScript + Three.js project scaffold
- Understand the responsibilities of Scene / Camera / Renderer
- Master requestAnimationFrame + delta time animation loop
- Learn window resize handling and pixel ratio settings
02 The Three.js Trio
Everything in Three.js starts with three objects:
| Object | Analogy | Responsibility |
|---|---|---|
| Scene | Stage | Container for all objects, lights, cameras |
| Camera | Lens | Determines what the viewer sees (position, angle, range) |
| Renderer | Projector | Calculates 3D scene into 2D pixels on canvas |
const scene = new THREE.Scene()
const camera = new THREE.PerspectiveCamera(75, width/height, 0.1, 1000)
const renderer = new THREE.WebGLRenderer({ canvas })
03 Animation Loop + Delta Time
Why delta time?
Different devices have different frame rates (60fps vs 144fps). If you write rotation += 0.01, a 144fps device rotates 2.4x faster than 60fps.
Solution: Multiply by delta (seconds since last frame), ensuring speed is tied to time, not frame rate.
// Wrong: frame rate dependent
cube.rotation.x += 0.01

// Correct: time dependent
cube.rotation.x += speed * delta  // delta is in seconds
04 Modular Design: SceneManager
Encapsulate Scene/Camera/Renderer into a class for unified management:
| Method | Purpose |
|---|---|
onUpdate(callback) | Register per-frame callback, receives (delta, elapsed) |
registerDisposable(resource) | Register resource for auto-cleanup on dispose |
start() / stop() | Control animation loop |
dispose() | Clean up all resources, prevent memory leaks |
05 Window Resize Handling
Two key operations, order matters:
// 1. Update camera aspect ratio first
camera.aspect = width / height
camera.updateProjectionMatrix()  // Must call, otherwise won't take effect

// 2. Then update renderer size
renderer.setSize(width, height)
06 Pixel Ratio
renderer.setPixelRatio(Math.min(window.devicePixelRatio, 2))
window.devicePixelRatio: Retina screens are 2 or 3- Why cap at 2? Beyond 2, pixel count doubles but is barely visible, wasting GPU
07 Quick Reference
The Three.js Trio
Scene (stage) → Camera (lens) → Renderer (projector)
     ↑                                ↓
  Objects/lights                  canvas pixels
Animation Loop
requestAnimationFrame(tick)
  → delta = (now - lastTime) / 1000
  → onUpdate(delta, elapsed)
  → renderer.render(scene, camera)
Window Resize Order
1. camera.aspect = w/h
2. camera.updateProjectionMatrix()
3. renderer.setSize(w, h)
08 Self-Review Quiz
What are the responsibilities of Scene, Camera, and Renderer?
Scene is a container for all objects, lights, fog, and background; Camera determines what the viewer sees (position, angle, range); Renderer calculates the 3D scene into 2D pixels on canvas.
Why is camera.position.z = 5 instead of 0?
The camera defaults to (0, 0, 0), same as the cube. Being inside the object means you can’t see its outer surface. Moving back 5 units shows the complete cube.
Why is setPixelRatio capped at 2?
Beyond 2, pixel count doubles but is barely visible to the eye, wasting GPU. devicePixelRatio is how many physical pixels per CSS pixel; Retina screens are typically 2 or 3.
Why use delta time in requestAnimationFrame?
Different devices have different frame rates (60fps vs 144fps). Delta time ties animation speed to time rather than frame rate, ensuring consistent rotation speed across all devices.
09 Source Code
Complete source code for this lesson:
- Repository: Three.js Creation Diary
- Directory:
01-project-architecture/ - Key files:
main.ts— Main entry, SceneManager initialization + cube creation + animation loopsrc/core/SceneManager.ts— Scene manager (reusable core module)
This is the 1st note in the Three.js + GLSL + WebGPU learning series. Course rating: 8.5/10.